- August 31, 2026

The Ultimate Guide to Travel eSIMs: Stay Connected Anywhere Without Roaming Fees
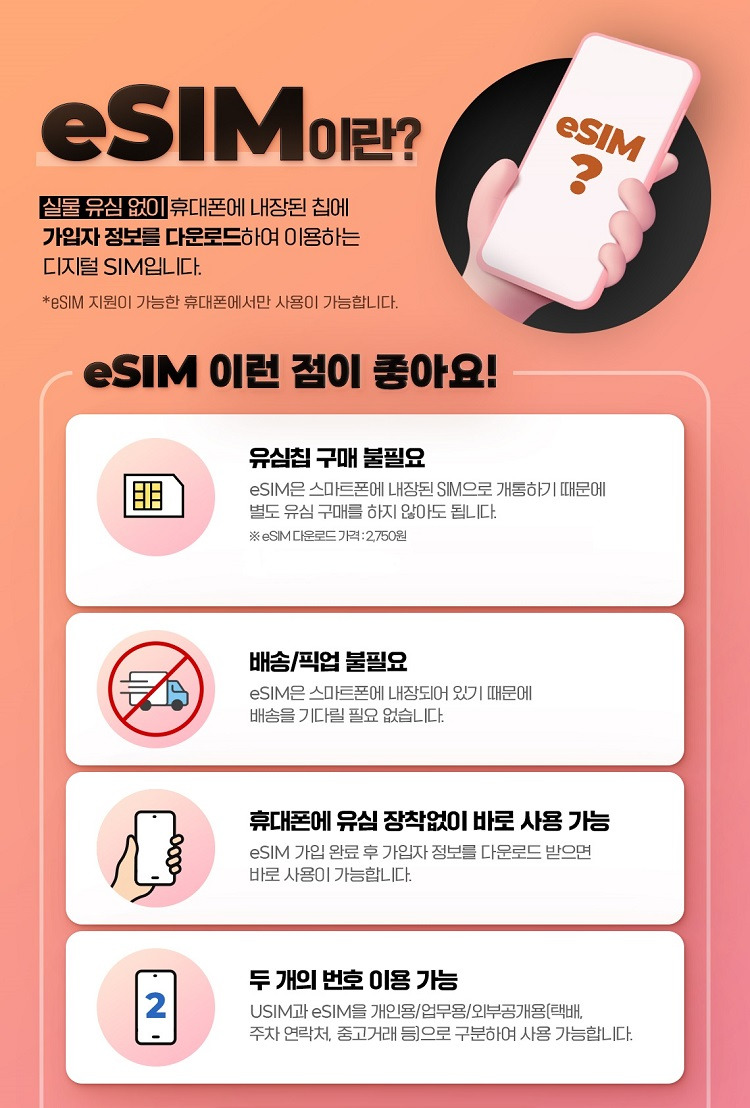
eSIM for travel is a digital SIM card that lets you activate a mobile data plan on your device without inserting a physical card. You simply scan a QR code or download a profile before departure, and your phone connects to local networks as soon as you land. It eliminates roaming fees, allows instant plan switching from a single app, and keeps your existing number active for calls and texts. To use it, all you need is an unlocked, eSIM-compatible smartphone and a valid data package for your destination.
Why Your Next Trip Needs a Digital SIM Card Instead of a Physical One
Forget fumbling with tiny SIM trays at midnight in a foreign airport. eSIM for travel lets you land, switch on your phone, and be online instantly—no hunting for a local vendor or risking a lost physical card. A digital profile stores everything, so you can swap between your home network and a local data plan without ever opening your device. That means zero downtime during a layover, no carrying a fragile adapter, and no “oops, I threw it away” panic. You’re also free to buy, install, and delete data packages remotely, hopping from country to country without hunting kiosks. Your phone becomes your only logistics tool—which is how travel should feel. And if you’re balancing work and adventure, switching to a digital SIM means one less loose object to lose when you’re jet-lagged and rushing. Simply scan a QR code before you board, set a data cap, and walk off the plane with full connectivity.
- Install your eSIM before departure to avoid roaming gaps at arrival.
- Keep your physical home SIM active for calls or backup if your phone supports dual SIM.
- Download a provider app that lets you top up or change plans mid-trip.
- Check your phone’s eSIM compatibility before buying a travel package.
- Use Wi-Fi at hotels to download large files, saving your mobile data for critical maps and messages.
- Always screenshot your eSIM QR code once—just in case you reset your phone abroad.
How Does an eSIM Actually Work When You’re Abroad?
When you land abroad, your phone’s eSIM doesn’t “roam” in the old sense—it simply downloads a local carrier profile over the internet, often before you even board. That profile contains a unique authentication key, letting your device connect directly to a partner tower in your destination country, bypassing your home network entirely. You’ll get a local IP address, which means your data travels from your phone to that local tower and straight out to the web—no expensive detour back home. To activate, you scan a QR code or install an app profile, then toggle the eSIM line on while keeping your physical SIM active for calls or texts. *The clever part is that your home number stays reachable via Wi-Fi calling, but your data bills don’t follow you.* Before departure, confirm your eSIM’s coverage map and data allowance, then switch off background app refresh for non-essential apps to stretch every megabyte. Choose a regional plan with automatic carrier switching, and your connection adjusts as you cross borders, giving you seamless, local-speed data without ever swapping a plastic card.
Downloading a Data Plan Before You Board the Plane
The smartest move with any travel eSIM is downloading your data plan before you board the plane, while you’re still on Wi-Fi at home or the airport. This pre-installation ensures the eSIM profile is ready to activate the moment your flight lands, eliminating any frantic fiddling with QR codes or app settings in baggage claim. Complete this setup while connected to stable internet to avoid roaming charges for the download itself. Simply follow the provider’s app, scan the QR code, and store the plan on your device. Then, power off and reboot after landing to lock onto local networks instantly.
- Purchase the eSIM and receive your QR code while on Wi-Fi.
- Scan and install the profile, confirming it appears in your cellular settings.
- Leave the eSIM active, then turn off your device until after touchdown to trigger the new plan.
Switching Between Local Networks Without Touching a Tray Ejector Tool
With an eSIM, switching between local networks abroad is a matter of a few taps in your device’s settings, never a hunt for a paperclip. You can land in a new country and, within seconds, activate a regional profile or a local carrier’s data plan without powering down or ejecting your physical SIM. This is the core advantage of software-driven carrier switching: you scan a QR code or download a profile, then toggle between your home line and a local operator as easily as flipping a light switch. No tray, no tools, no risk of losing a tiny SIM card in a hotel room—just immediate, flexible connectivity that adapts to your itinerary in real time.
The Real Cost Breakdown: Is Going Digital Cheaper Than Roaming or Local SIMs?
When you break down the numbers, eSIMs usually beat traditional roaming plans for short trips, but local SIMs still win for long stays. Roaming often charges $10–15 per day, which adds up fast—a week abroad easily costs $70–100 for just 1–2GB daily caps. A travel eSIM might cost $15–30 for 5–10GB over that same week, making it significantly cheaper without hunting for a physical store. However, if you’re staying over two weeks, a local SIM often drops to $10–20 for 20GB+, undercutting most eSIMs.
The tipping point is usually around 10–14 days: eSIMs win for shorter, convenience-focused trips, while local SIMs dominate for longer stays where you can afford to swap cards.
Also remember eSIM prices include zero setup hassle—no passport, no store queues—so the real cost comparison must factor in your time, not just the data rate.
Hidden Fees You Avoid with Prepaid Data Packages
With prepaid data packages for travel eSIMs, the price you see is the price you pay, eliminating the shock of roaming surcharges that appear days after your trip. You avoid activation fees, daily connection charges, and the obscure “administration costs” that carriers sneak onto postpaid bills. Hidden fees you avoid with prepaid data packages include billing increments that round up every kilobyte, plus taxes on usage that vary by destination and are only calculated later. There is no surprise bill for exceeding a “fair usage” threshold, because your data cap is absolute. Even the dreaded “network access fee” disappears, as your payment covers the entire ecosystem upfront. This transparency turns your connectivity into a fixed, predictable travel expense rather than an unpredictable liability.
Comparing Per-Gigabyte Prices for Short Stays vs. Long Backpacking Trips
For a 3-day city break, a regional data pack often costs $2–$4 per gigabyte, making local SIMs and roaming plans surprisingly competitive. However, long-term backpacker eSIM data costs flip the equation: multi-week regional plans can slash per-GB rates to under $0.50, especially across Southeast Asia or Europe. The catch is that short-stay tourists overpay for convenience—they rarely use more than 2–3GB, so the premium feels negligible. Long-haul travelers, consuming 10–15GB monthly for maps, hostels, and video calls, hit massive savings by bundling 30–90-day plans, which average 60–80% cheaper than stacking daily passes. A local SIM might beat a short-term eSIM, but it loses to long-stay digital plans.
Question: Why is per-GB pricing so different for a weekend versus a month? Because short packs are priced for convenience, not volume—long plans amortize network fees over higher data consumption, making bulk eSIM packages the clear winner for extended trips.
Picking the Right Plan: What to Check Before You Hit “Buy”
Before purchasing a travel eSIM, verify device compatibility by confirming your phone is unlocked and supports eSIM technology—checking the manufacturer’s IMEI list prevents immediate activation failure. Scrutinize the coverage map for your exact destinations, not just the country, since regional networks vary; a plan advertising “Europe” may omit rural Swiss valleys. Compare data allowances against your actual usage—streaming maps or video calls consume gigabytes fast, so calculate per-day needs. Confirm the validity period aligns with your trip dates, noting whether activation starts at purchase or first connection. Finally, read the fair usage policy for speed throttling after a high-data threshold, and check if tethering is permitted. Always verify if the plan includes a local phone number or is data-only, as this affects SMS verification for apps like banking or ride-hailing.
Coverage Maps vs. Real-World Connectivity in Rural Areas
Coverage maps from eSIM providers often show broad regional shading, but this rarely reflects the true signal reality in rural areas. A map’s “4G” zone may be based on a single tower’s theoretical range, ignoring terrain, forest density, or building materials that block low-band frequencies. Before buying, cross-reference the provider’s map with crowdsourced field data from apps like OpenSignal or nPerf, specifically filtering for the exact rural districts you’ll traverse. Even then, expect dead zones in valleys or along coastal cliffs where roaming agreements switch carriers mid-route, causing temporary drops. If your itinerary includes remote villages, prioritize plans from carriers with native infrastructure in that region, not budget MVNOs that lease weaker backhaul. A map’s promise of coverage expires the moment you leave a highway corridor.
Maps forecast coverage; real-world rural connectivity is decided by terrain, tower placement, and roaming handoffs—so verify with live community data, not provider graphics.
Data-Only vs. Plans with a Voice Number—Which Do You Need for Booking Hostels and Two-Factor Authentication?

For hostel bookings and two-factor authentication, a data-only eSIM often falls short precisely where you need it most. Hostel booking platforms frequently send verification codes via SMS to your phone number, and many banking or email services refuse to send codes to VoIP numbers. A plan with a real voice number ensures those OTPs arrive directly, preventing lockouts at critical moments like checking into a dorm at midnight. Data-only plans are cheaper and fine for browsing, but they force you to rely on Wi-Fi for authentication, a risky gamble when you are mobile. Choose a voice-enabled plan if securing reservations and accounts is non-negotiable.
Data-only saves money but risks failed two-factor authentication; a voice number guarantees SMS codes for hostel bookings and account access.
Validity Windows and Rollover Data: Getting the Most Out of a 7-Day vs. 30-Day Package
When you’re comparing eSIM plans, validity windows and rollover data can make or break your trip budget. A 7-day package usually forces you to burn through data fast—great for a long weekend, but you’ll lose whatever’s left at midnight on day seven. A 30-day plan gives you breathing room, especially if you’re hopping between cities or working remotely for a few weeks. But check if unused gigabytes roll over if you top up early—most don’t. For a short trip, grab the 7-day and use Wi-Fi for heavy downloads. For a month-long jaunt, the 30-day saves you from buying a second pack. Match the window to your actual itinerary, not your hopeful scrolling habits.
Setting Up Your Phone for a Seamless Switch
Before you jet off, setting up your eSIM for travel hinges on configuring your phone’s dual-SIM preferences. First, scan your provider’s QR code while connected to Wi-Fi, then label your travel eSIM clearly (e.g., “Vodafone DE”) to avoid billing chaos. Crucially, set your **primary line** for cellular data and your home SIM for calls/SMS, or vice versa, depending on your plan. For a seamless switch, disable automatic network selection on the travel line to prevent roaming on costly partner towers. Finally, toggle “Data Roaming” on only for that eSIM—not your home line—and test by sending a message before departure.
Your phone’s SIM manager is the control room; assign default lines *before* you board, not mid-air.
This pre-flight ritual ensures you land with instant connectivity, not a settings scavenger hunt.
Step-by-Step Installation on iPhone and Android (Without Losing Your Primary Line)
On an iPhone, open **Settings → Cellular → Add eSIM**, scan the QR code from your travel provider, then label the new line as “Travel” and set it to **Cellular Data**. Keep your primary line active for calls and iMessage by toggling it to **Yes** for “Default Voice Line” while disabling “Cellular Data Switching” to avoid roaming charges. On Android, navigate to **Settings → Network & Internet → SIMs → Add eSIM**, scan the QR, and assign the travel profile to **Mobile Data**, leaving your physical SIM as the default for calls and texts. Both platforms allow you to disable the travel eSIM after your trip, preserving your home number throughout. Step-by-step installation with dual SIM settings ensures you never lose connectivity on your primary line.
Follow the on-screen prompts, set the travel eSIM for data only, and keep your primary SIM for voice—your home number stays untouched.
Managing Two Profiles: Keeping Your Home Number Alert for Bank Texts While Roaming

When traveling with an eSIM, your physical home SIM can remain active solely for SMS, ensuring bank alerts and one-time passwords still arrive. Disable cellular data on the primary line to avoid roaming charges, while the travel eSIM handles internet. On iPhone, set the home line to “No Data” and the eSIM as default; on Android, toggle data off for the primary SIM. This keeps your home number alert for bank texts while roaming, with no interruption to two-factor authentication. You won’t receive calls unless you enable roaming voice, but SMS typically works on the home carrier’s network if roaming SMS is supported.
Q: Will bank texts still arrive if my home SIM has no data and I’m using a travel eSIM?
A: Yes, as long as your home carrier supports SMS roaming, texts arrive independently of the data connection, though a small per-message fee may apply.
Troubleshooting the “No Service” Moment: APN Settings and Manual Carrier Selection
When your eSIM shows “No Service” after switching profiles, the first fix is verifying the APN settings for travel eSIM data. Navigate to your mobile network settings, select the eSIM line, and manually enter the APN provided by your eSIM vendor—often “global” or a region-specific string—ensuring no trailing spaces. If the network still doesn’t register, force a manual carrier selection: disable “Automatic” under Network Operators, wait for the scan, and pick your local destination network (e.g., Vodafone, Orange, or T-Mobile) rather than your home carrier. Follow this sequence:
- Reboot the phone after enabling data roaming.
- Check that the eSIM line is active, not the primary SIM.
- Manually select a carrier and toggle airplane mode for 10 seconds.
Persistent “No Service” usually resolves by deleting and re-adding the APN profile exactly as listed in your activation email.
Smart Usage Hacks: Stretching Your Digital Data on the Road
Your eSIM data melts fast when your phone silently syncs photos in a Paris café. I learned to flip off background app refresh the moment I landed, keeping only maps and messaging alive. Streaming? Never—I download offline playlists and podcast batches while on hotel Wi-Fi, then toggle airplane mode with eSIM data on. Video calls become voice-only, and I set YouTube to 144p for that one dire tutorial. Your eSIM plan is a bucket, not a river—so I track usage in the phone’s settings daily, and when it dips low, I switch to text-only browsing. Question: what’s the fastest way to halve roaming data? Answer: turn off automatic email fetch and photo backup, then manually refresh only when connected to free Wi-Fi. That single habit stretched my 5GB eSIM across two weeks of zigzagging through Italy.
Which Apps Suck Your Allowance Dry—and How to Put Them on a Diet

Social media and navigation apps are the usual culprits draining your travel eSIM data, with autoplay videos and live map updates consuming megabytes in the background. Put them on a strict diet by switching Instagram and TikTok to Wi-Fi-only mode in their settings, and download offline maps for Google Maps or Maps.me before you leave the hotel. Streaming music is another silent thief—cap Spotify or Apple Music to 96 kbps and cache playlists while connected. For messaging, disable automatic photo and video downloads in WhatsApp or Telegram. Finally, set your phone to restrict background data for non-essential apps entirely, a move that can cut usage by over 30 percent. Data-saving travel eSIM usage hinges on these micro-adjustments more than on the plan itself.
Using Wi-Fi Calling to Save Your Data Plan in Hotels and Cafés
When you’re bouncing between hotel lobbies and café corners, flip on Wi-Fi calling to keep your travel eSIM data untouched. Your phone routes calls and texts over the free hotspot instead of burning your precious megabytes, so you save your plan for navigation or photo uploads. Just enable it in settings before you leave—your eSIM stays active, but the connection rides on Wi-Fi. It’s a tiny tweak that stretches your data on the road without sacrificing chat time. **Wi-Fi calling preserves your eSIM balance** for when you truly need it. Q: Does Wi-Fi calling drain my eSIM data? No—it uses the café or hotel network, not your cellular plan, so your balance stays intact.
Backing Up Your eSIM QR Code and What to Do If You Lose Your Phone
Before you jet off, treat your eSIM QR code like a boarding pass you can’t reprint. Save a screenshot to your phone, but also email it to yourself or store it in a secure cloud folder, since hotel Wi-Fi won’t help if you’re locked out. If your phone vanishes, don’t panic: you can often re-download the eSIM profile from your provider’s app on a new device using that QR. To avoid chaos, follow this order: back up your eSIM QR code to two places, then note your plan’s account login, and finally, download the carrier app beforehand. A printed copy in your wallet is a lifesaver when both phone and memory fail you. Once you’re on a new handset, scan the QR or log in to restore your data number instantly.
What Happens if You Change Phones Mid-Trip?
Swapping devices mid-trip with an eSIM is straightforward, provided you have your QR code or activation details saved offline. First, remove the eSIM profile from your old phone if you plan to reuse that device later—otherwise, it may remain locked to the original handset. Next, on your new phone, scan the saved QR code or manually enter the activation code to re-download the profile. After activation, your remaining data balance transfers instantly, as it is tied to your eSIM account, not the hardware. However, any SMS-based verification codes from your carrier will be lost if you do not transfer the profile before disabling the old device.

Sharing Your Connection: Turning Your eSIM Phone into a Hotspot the Right Way
Your travel eSIM can double as a lifeline for your laptop or tablet, but only if you configure the hotspot deliberately. First, check your device’s APN settings—some eSIM profiles restrict tethering, so verify the plan explicitly includes hotspot access before departure. On both iOS and Android, navigate to Personal Hotspot or Tethering and toggle it on after your eSIM is active, ensuring cellular data is set to the eSIM line, not your home SIM. Keep the band to 5GHz to reduce strain and battery drain, and set a strong, unique password to stop freeloaders from eating your balance. Monitor usage via the eSIM provider’s app, pausing the hotspot when idle. Turning your eSIM phone into a hotspot the right way means confirming tethering permissions, securing the connection, and actively tracking data to avoid surprise cutoffs. A quick test at the airport—connecting a secondary device for 30 seconds—catches configuration errors before you need it live.
Turn your eSIM into a hotspot only after verifying tethering support, securing the network, and $1 eSIM tracking consumption to stretch your travel data safely.